
Thoma
Thoma is an easy-to-get 4-star shielder (his shield is usable even at C0), great for anyone who wants a durable layer of armor without spending a DPS slot. His shield scales with max HP, so stack HP% everywhere, and crucially build enough Energy Recharge to burst every rotation. He also shines as a Burgeon trigger with the Flower of Paradise Lost set. Don't expect damage; Thoma's value is safety. Prioritize Favonius Lance and full HP%.
 Ranking & buildright on this page
2
Ranking & buildright on this page
2 Farmingopen tool
3
Farmingopen tool
3 Damage Calculatoropen tool
4Build a teamready-made comps
Damage Calculatoropen tool
4Build a teamready-made comps
Thoma Build
-
1
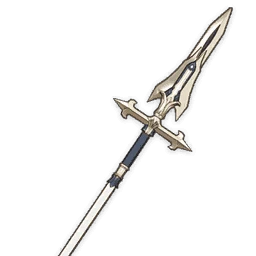 Favonius Lance Best
 -
2
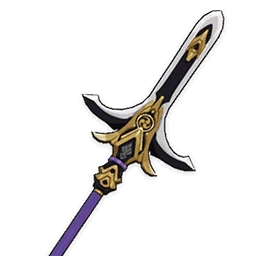 Kitain Cross Spear
 -
3
 Engulfing Lightning
 -
4
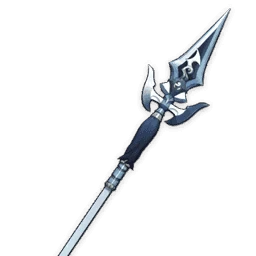 Black Tassel
 -
5
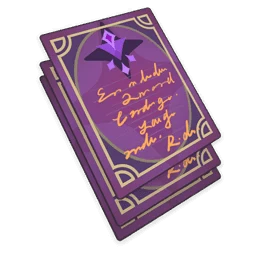
 "The Catch"
 Tenacity of the Millelith
 Noblesse Oblige
 Flower of Paradise Lost
Priority substats: Energy Recharge (tới đủ nạp) › HP% › Elemental Mastery (đội Burgeon)
Q ≈ E > NA — level Burst and Skill for a thick shield and steady Pyro, Normal Attacks basically skipped; build enough Energy Recharge.
Teams for Thoma



Thoma's talents
 Swiftshatter Spear
Performs up to 4 consecutive spear strikes.
Charged Attack
Consumes a certain amount of Stamina to lunge forward, dealing damage to opponents along the way.
Plunging Attack
Plunges from mid-air to strike the ground below, damaging opponents along the path and dealing AoE DMG upon impact.
 Blazing Blessing
The DMG Absorption of the Blazing Barrier scales off Thoma's Max HP.
The Blazing Barrier has the following traits:
·Absorbs Pyro DMG 250% more effectively.
·When a new Blazing Barrier is obtained, the remaining DMG Absorption of an existing Blazing Barrier will stack and its duration will be refreshed.
The maximum DMG Absorption of the Blazing Barrier will not exceed a certain percentage of Thoma's Max HP.
As a guest from afar, only the most burning passion would allow one to master the pure and precise spear arts of Inazuma. Thoma's mastery, indeed, is not limited to being the "swiftest-studying student" or "a master of the spear," but he has imbued his will to protect others and fend off foes into his art as well.
 Crimson Ooyoroi
Scorching Ooyoroi
While Scorching Ooyoroi is in effect, the active character's Normal Attacks will trigger Fiery Collapse, dealing AoE Pyro DMG and summoning a Blazing Barrier.
Fiery Collapse can be triggered once every 1s.
Except for the amount of DMG they can absorb, the Blazing Barriers created in this way are identical to those created by Thoma's Elemental Skill, Blazing Blessing:
·Absorbs Pyro DMG 250% more effectively.
·When a new Blazing Barrier is obtained, the remaining DMG Absorption of an existing Blazing Barrier will stack and its duration will be refreshed.
The maximum DMG Absorption of the Blazing Barrier will not exceed a certain percentage of Thoma's Max HP.
If Thoma falls, the effects of Scorching Ooyoroi will be cleared.
"I will not forget my initial promise. Let this burning flame protect those I cherish, and may it never be extinguished."
 Imbricated Armor
This effect can be triggered once every 0.3s seconds. Max 5 stacks.
 Flaming Assault
 Snap and Swing
Combat Rotation
- Cast Elemental Skill (E) "Blazing Blessing" — deals AoE Pyro DMG, applies Pyro to Thoma himself, and creates a Blazing Barrier shield (CD 15s).
- Right after E, swap to your driver character immediately — the Pyro just applied to Thoma lets their next hit trigger a reaction (Vaporize, Overloaded, etc.).
- Once you've charged 80 Energy, use Elemental Burst (Q) "Crimson Ooyoroi" — deals AoE Pyro DMG and grants Scorching Ooyoroi for 15 seconds.
- While Scorching Ooyoroi is active, switch to your main DPS and keep auto-attacking — each Normal Attack triggers Fiery Collapse (AoE Pyro DMG + a fresh shield), capped at once per second.
- Stick to Normal Attacks (avoid Charged Attacks) on your main DPS so the shield keeps refreshing and you get full value out of Scorching Ooyoroi's duration.
- Recast E on its 15-second cooldown between Bursts to refresh the shield and reapply Pyro to Thoma.
- Prioritize Energy Recharge (artifacts/support characters) to reach the 80-cost Burst quickly, then repeat: E → swap to DPS → Q → Normal Attacks.
- Thoma doesn't need to stay on field after E/Q — he functions as a background shielder/support, letting your main DPS hold field time while the shield and buff carry over.
Thoma constellations
When a character protected by Thoma's own Blazing Barrier (Thoma excluded) is attacked, Thoma's own Blazing Blessing CD is decreased by 3s, while his own Crimson Ooyoroi's CD is decreased by 3s.
This effect can be triggered once every 20s.
Crimson Ooyoroi's duration is increased by 3s.
Increases the Level of Blazing Blessing by 3.
Maximum upgrade level is 15.
After using Crimson Ooyoroi, 15 Energy will be restored to Thoma.
Increases the Level of Crimson Ooyoroi by 3.
Maximum upgrade level is 15.
When a Blazing Barrier is obtained or refreshed, the DMG dealt by all party members' Normal, Charged, and Plunging Attacks is increased by 15% for 6s.
Base Stats (Lv90)
Character Profile
- Region: Inazuma
- Voice Actors: JP 森田成一 · EN Christian Banas · KR Ryu Seung-kon · CN 张沛







Ascension materials
Total ascension materials to reach level 90 (talent books not included).









 Tier List→
 Teams→