
Blow up the Crowd
Beat King
Increases the active character's ATK by 3 while the wearer is off-field, and increases the active character's ATK by 32 when the wearer deals damage, up to 4 stacks and triggering at most once every 5s. Resets the effect when the wearer becomes the active character.
Increases Psyche DMG by — while the wearer is the active character, and increases Psyche DMG by — when dealing Psyche DMG with a Basic Attack, up to 10 stacks. Triggers at most once every 0.3s. Resets the effect when switching characters.
| Stars | Value 1 | Value 2 | Value 3 | Value 4 | Value 5 |
|---|---|---|---|---|---|
| ★ | 3 | 32 | 5 | — | — |
| ★★ | 3 | 40 | 5 | — | — |
| ★★★ | 3 | 48 | 5 | — | — |
| ★★★★ | 3 | 56 | 5 | — | — |
| ★★★★★ | 3 | 64 | 5 | — | — |
Values follow the official per-star curve from game data. Each column is one effect slot.
Card Art
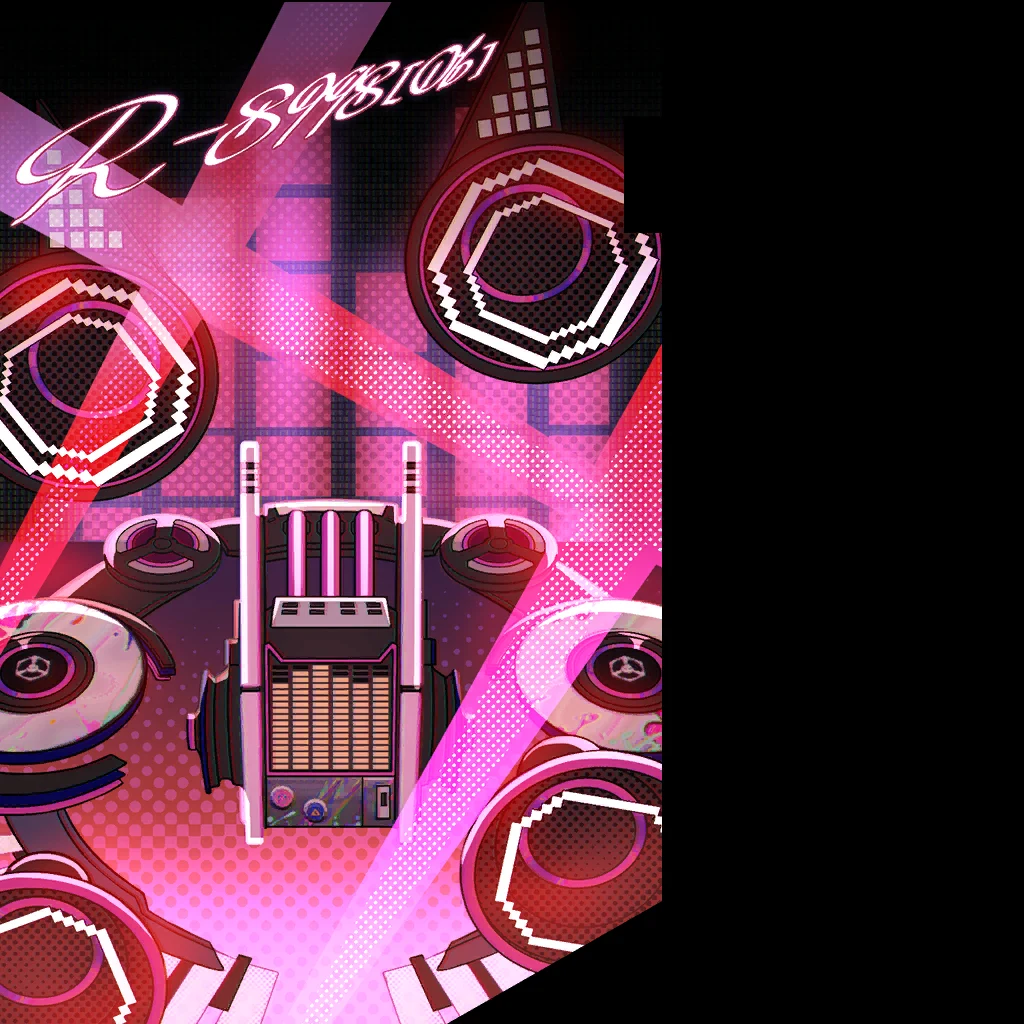
Lore
Shh… it's coming, it's coming! IT'S COMING!!!Best used by









Breakthrough vs Star Refinement: Two Different Tracks
This page tracks two upgrade paths that solve different problems, and confusing one for the other is the most common way to waste materials on this Arc.
- Breakthrough (6 stages) raises the level cap and pushes up base stats — this is about how tanky/how much raw ATK this Arc can carry, and it uses breakthrough materials, not duplicates.
- Star refinement (up to 5 stars) is a separate track that only scales the numbers inside this Arc's passive effect — it does not touch the level cap or base ATK at all. Raising it usually costs either duplicate copies of this same Arc or dedicated star-up material, shown further down this page.
- A copy at breakthrough 6 / star 1 has the full base stats but the weakest version of the passive; a copy at breakthrough 1 / star 5 has a strong passive on a low stat floor. Neither substitutes for the other — a fully invested Arc needs both tracks pushed.
Reading the Star-Refinement Buff on This Page
The passive effect box on this page lists a value or a range for each of the 5 star levels — that's not a random roll, it's a fixed curve: every copy of this exact Arc at star 3 has the exact same passive strength as every other copy at star 3. There's nothing to gamble on here beyond deciding whether to spend the materials to move up a star.
- Read the numbers at star 1 and star 5 side by side first — that gap tells you how much this specific Arc actually rewards refinement versus one where the passive barely changes between stars.
- Some passives scale a percentage bonus, others scale a stacking condition (like how many stacks or how long an effect lasts) — check which type this Arc's passive is before assuming “higher star = flat bigger number” applies the same way to it.
- If this Arc's class tag doesn't match any character you're currently running, refining stars on it is wasted spend regardless of how good the star-5 passive looks — fix the class match first.
Check the Class Tag on This Page Before You Invest
The class tag shown near the top of this page is the single fact that decides whether anything else on it matters. It's one of 5 tags (displayed as Type I-V), and it's a hard equip rule, not a soft suggestion — a character outside this tag simply cannot put this Arc into their weapon slot.
- Before spending breakthrough materials or star-up copies here, confirm this Arc's tag matches a character you actually plan to build, not just one you happen to own.
- If this Arc came from a limited banner and its tag doesn't match anyone in your current roster yet, it's usually safer to leave it at base breakthrough/star until a matching character arrives, rather than sinking materials in blind.
- Deep-link to this Arc's matching characters from the class filter on the arcs kho, or check a specific character's build page to see whether this Arc is actually their recommended pick versus just a compatible one.
 Arcs→
Arcs→
 Characters→